Introducing our first official shared workspace — Akuko Studio. Inspired by our logo and brand colours, the studio features art deco traits, colour blocking and was by far the most challenging DIY adventure we ever embarked on.
I’m super excited to share today’s studio reveal with you. But before I do, I highly recommend that you read the previous article on how we came up with the design concept as this article will make a whole lot more sense to you (unless of course, you are only here for the pictures, in which case you may go ahead and scroll along 🤪).
If you just read the article like I told you to, you may notice that some of the intended design was adjusted in the actual implementation process. These changes were mainly driven by our budget. The most obvious difference was that we had to scrap the original idea of having a lounge space right at the entrance. Instead, we decided to rent out this space as it allowed us to cut the cost of the rent by one third. Our studio mate gave us permission to put a couple of tub chairs right at the entrance for the photoshoot as I wanted to be able to hint at what could have been. 😢😅
Secondly, we also scrapped the idea of having velvet curtains to cover part of the wall. This was mainly due to a mistake on my part. It had proved quite difficult to find the right shade of fabric and after several trips across London on the tube (each one taking over an hour) I ended up buying over 20m of fabric in a moment of desperation, that didn’t live up to the hopes that I had for it (and returning the fabric was not possible). The most annoying part of the whole ordeal was that I only realised that the shade clashed with the lighting of the space after I had already spent a week sewing about 9 curtains. At this point our budget for the curtains was spent, so we decided to cover the OSB board with thin sheets of MDF instead, which we painted white to match the walls. In retrospect, I think this was the better solution for the place, anyway.
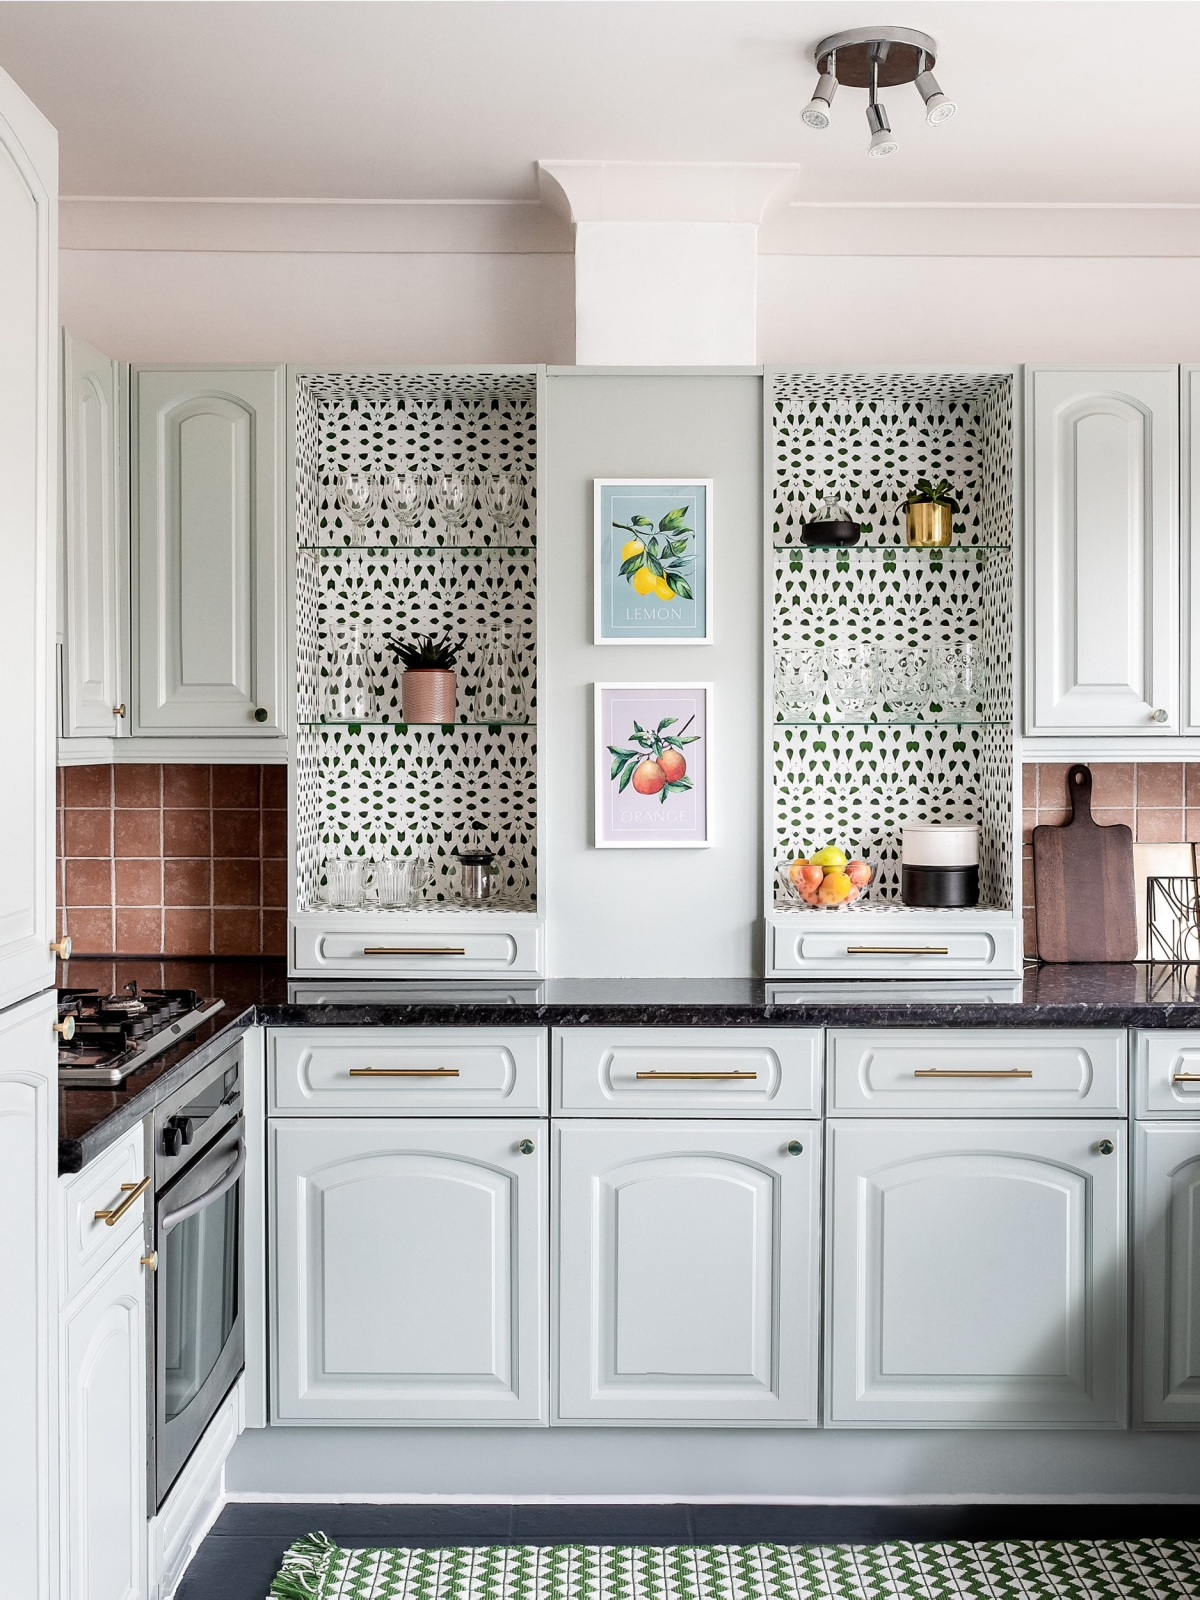
The final change to the design that we made was with regards to the storage system. While I would have preferred our original idea of constructing customised arched cabinets, the fact that we were only renting this space made us think twice over whether we wanted to spend this much money on custom designed furniture. Instead, we opted for a creative compromise in which I combined Ikea’s Ivar cabinets with arched cabinet legs from Pretty Pegs and used paint to create an arched background that we accessorised with shelves and office equipment from Ikea. Keep an eye out on my Instagram @atelierakuko for a mini-DIY on this!
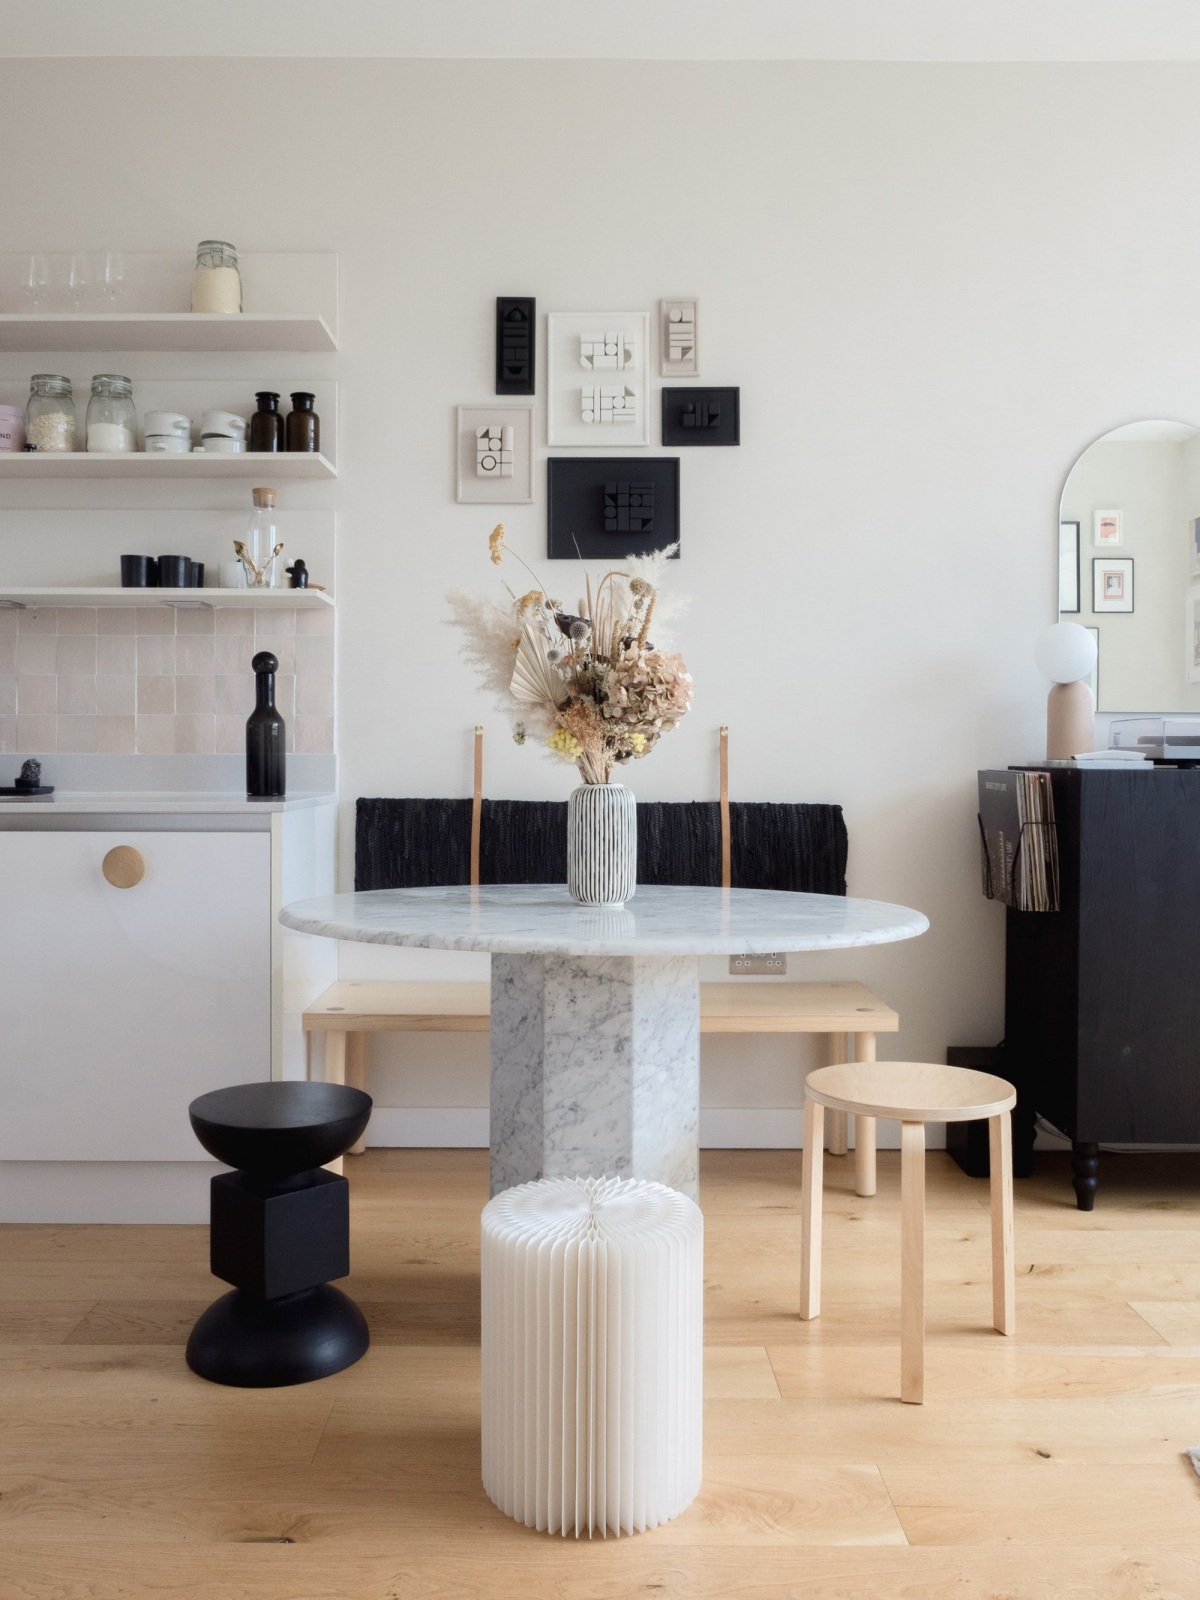
In my opinion, the highlight of this space is the custom-made table, for which I hand-painted over 400 tiles in a pattern we created based on our logo. I’m planning a whole series of articles to take you through the separate steps of the DIY process.
Despite the changes, I’m really pleased with how the place turned out. My two main learnings in this entire process were: Firstly, not to try to rush any part of the process — creating a space takes time! Secondly, there is always another solution, when something doesn’t work out! Don’t let a lack of budget discourage you from seeing your interior vision come to pass!
If you are following me on Instagram (pretty please!) you may already know that the studio doesn't actually exist anymore as we moved out at the end of August. To cut a long story short, we used to have a flat mate who moved out just before Lockdown and now have a spare room in our home, so to save money we moved the studio into our tiny home office. I'm currently in the process of creating a new office concept design and will keep you updated on any progress made in that department via Instagram!
Inspired by this story
Excited to create a space that captures your narrative?