A New Kitchen To Celebrate A New Beginning

The biggest transformation of our refugee project was the kitchen, which went from a brown veneer with ornamental handles and yellow floor tiles to a modern and friendly sage green, brass, and charcoal combo using nothing but paint and a whole lot of time and perseverance.

I recently completed a pro bono project for which I decorated a 3 bedroom house for a refugee family coming to settle in the UK. I wrote extensively about it here but decided to keep the biggest transformation — the kitchen — for a separate article so that I could share all the details and learnings we made along the way with those of you looking to transform your own kitchen.

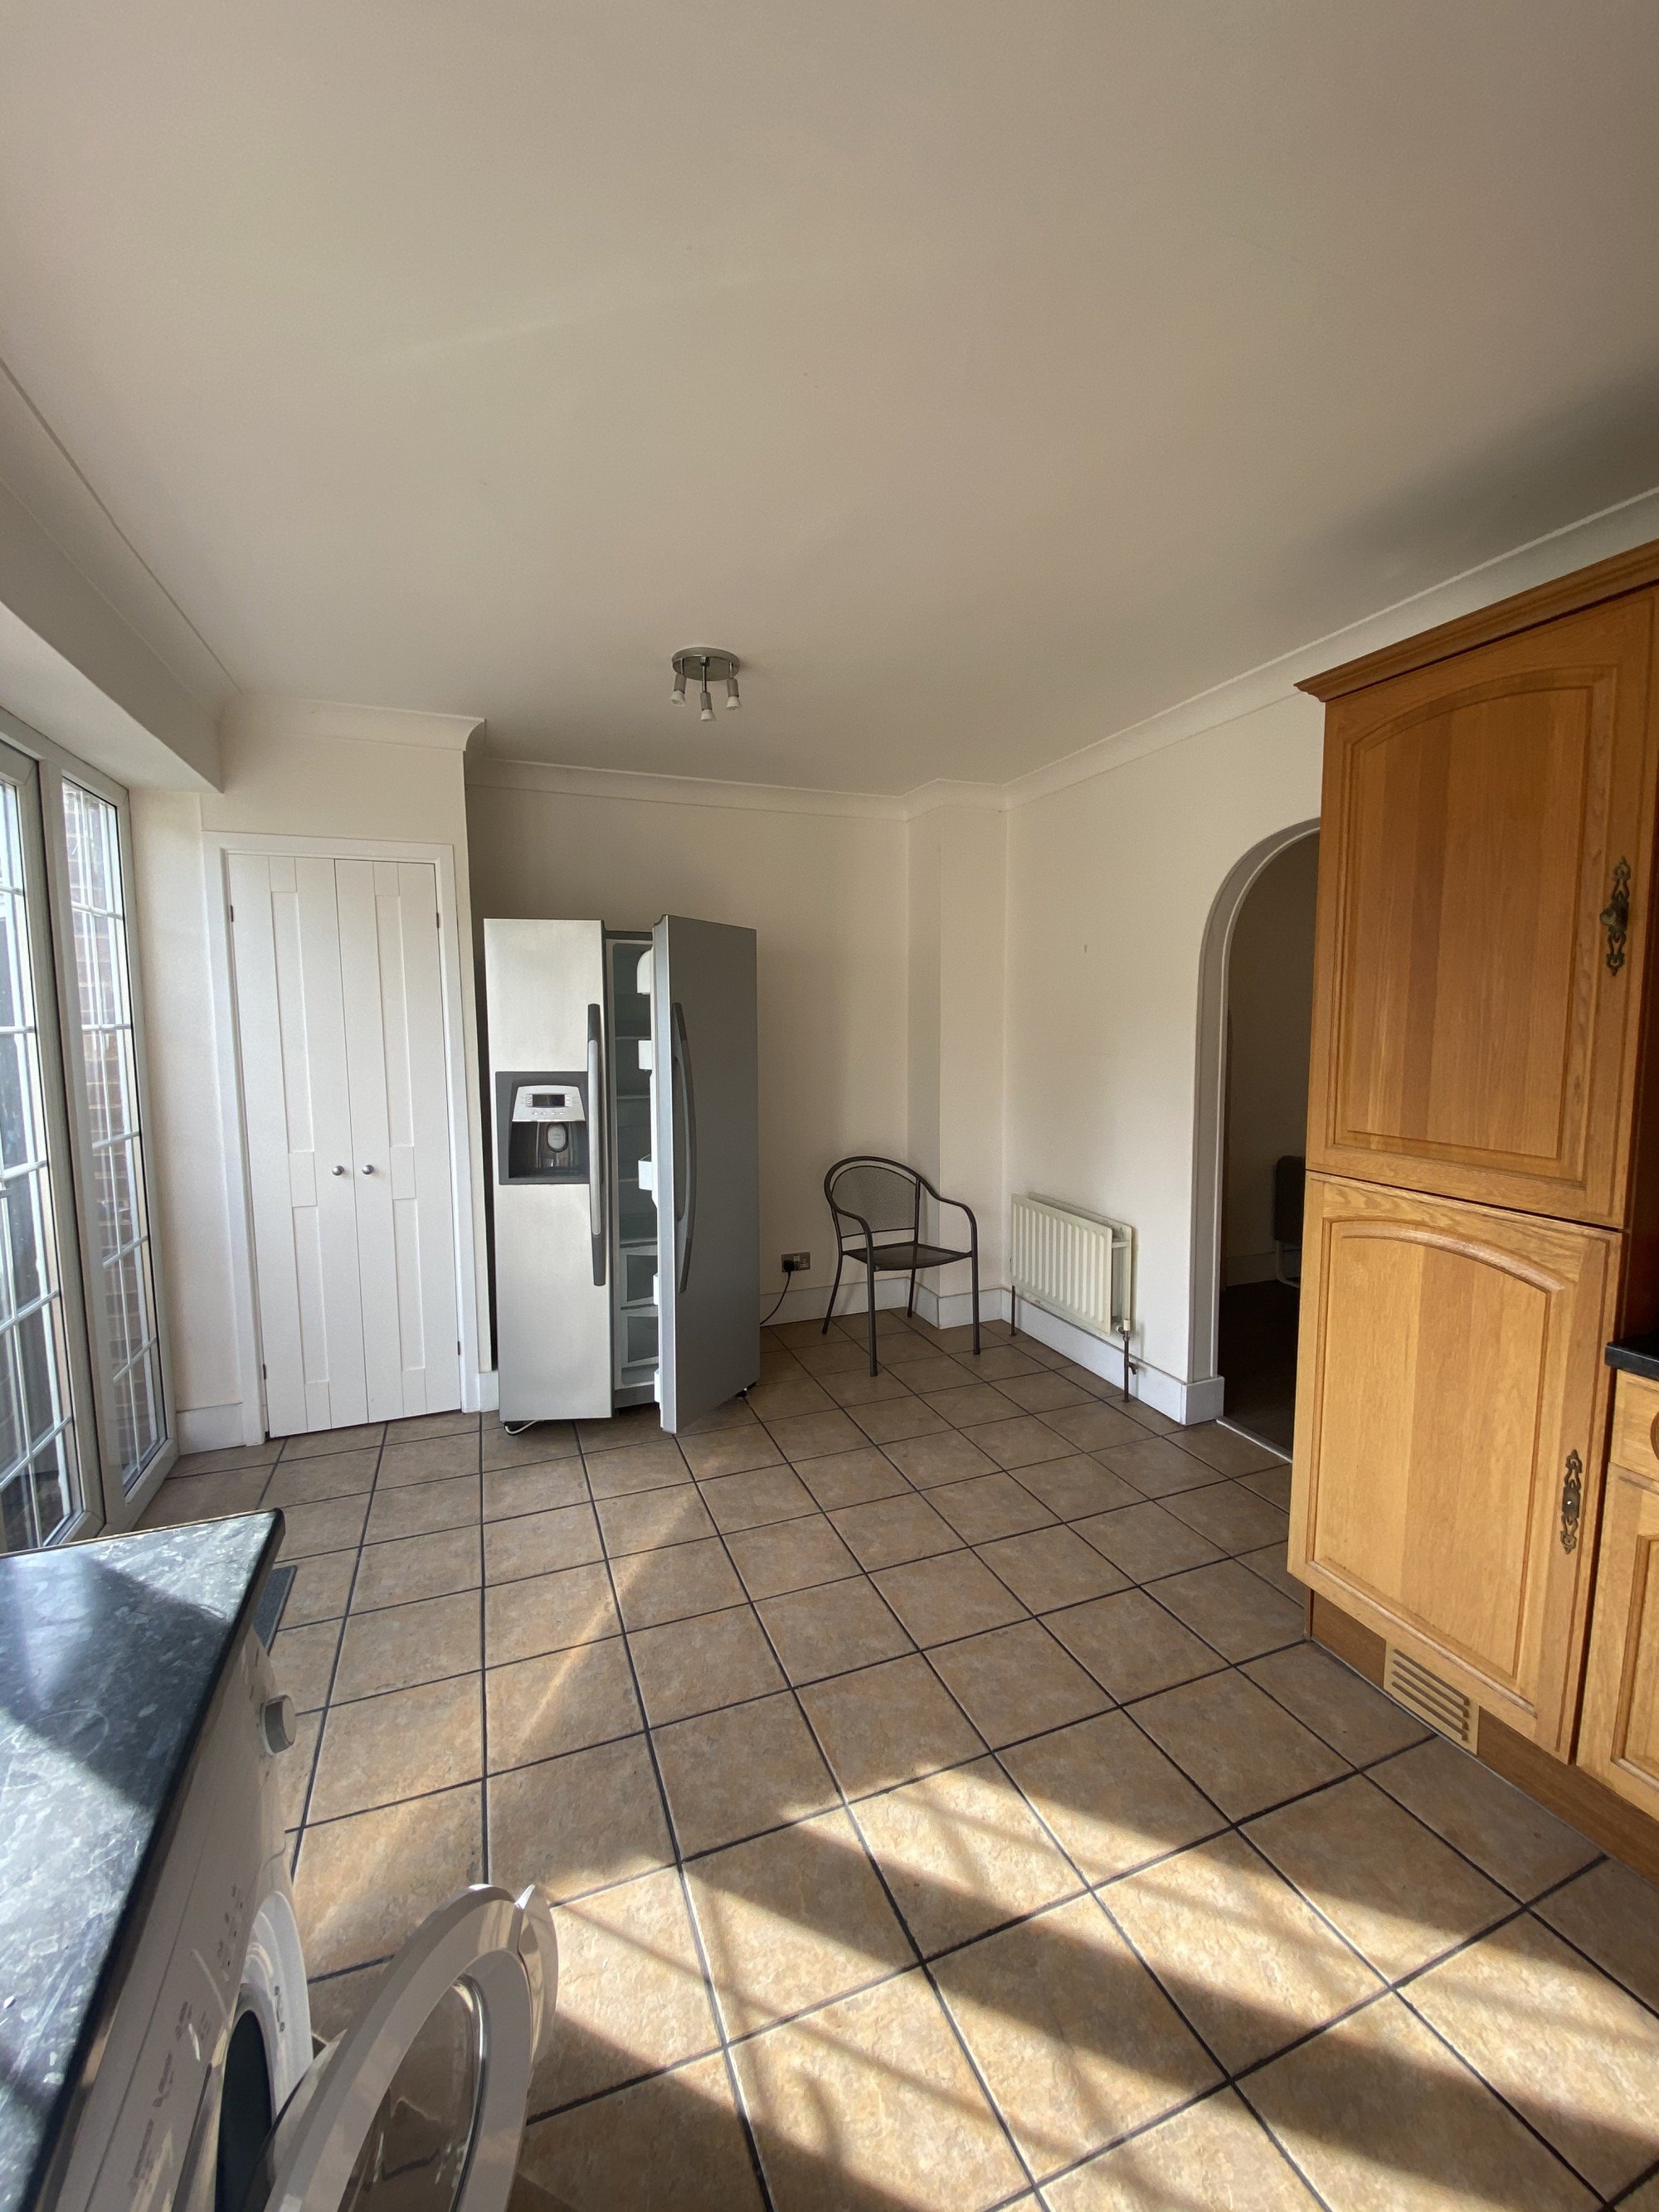
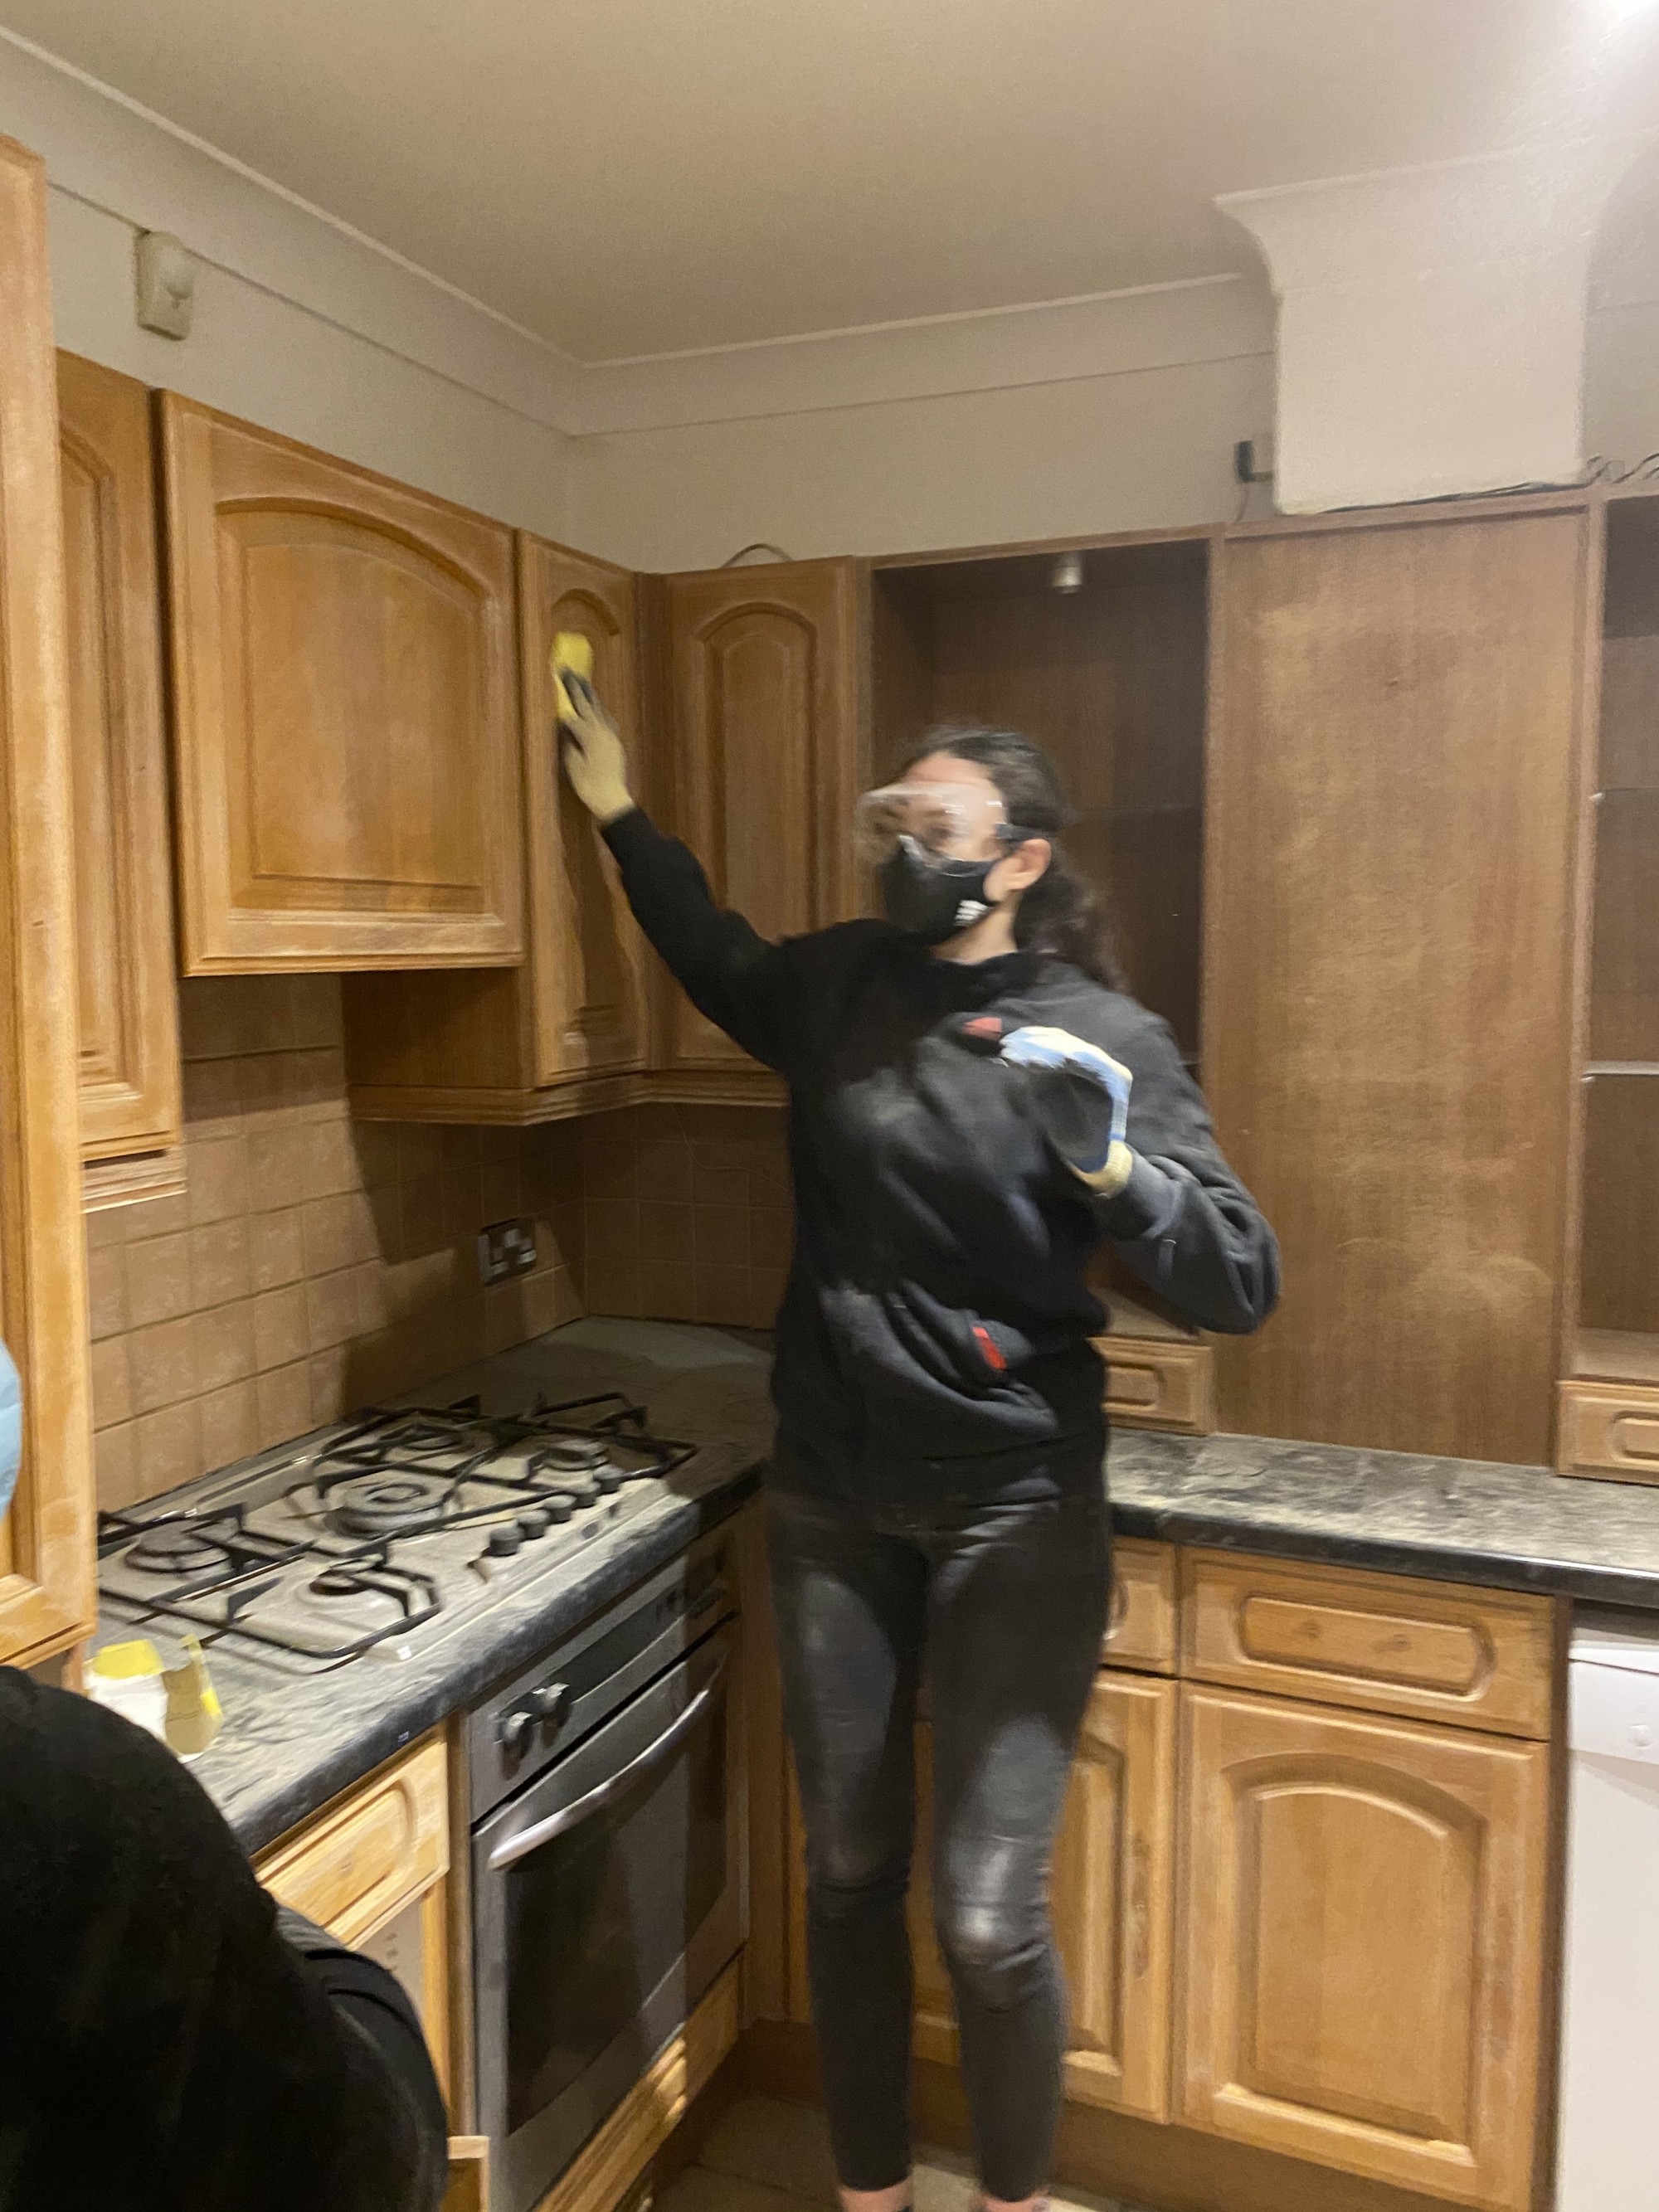
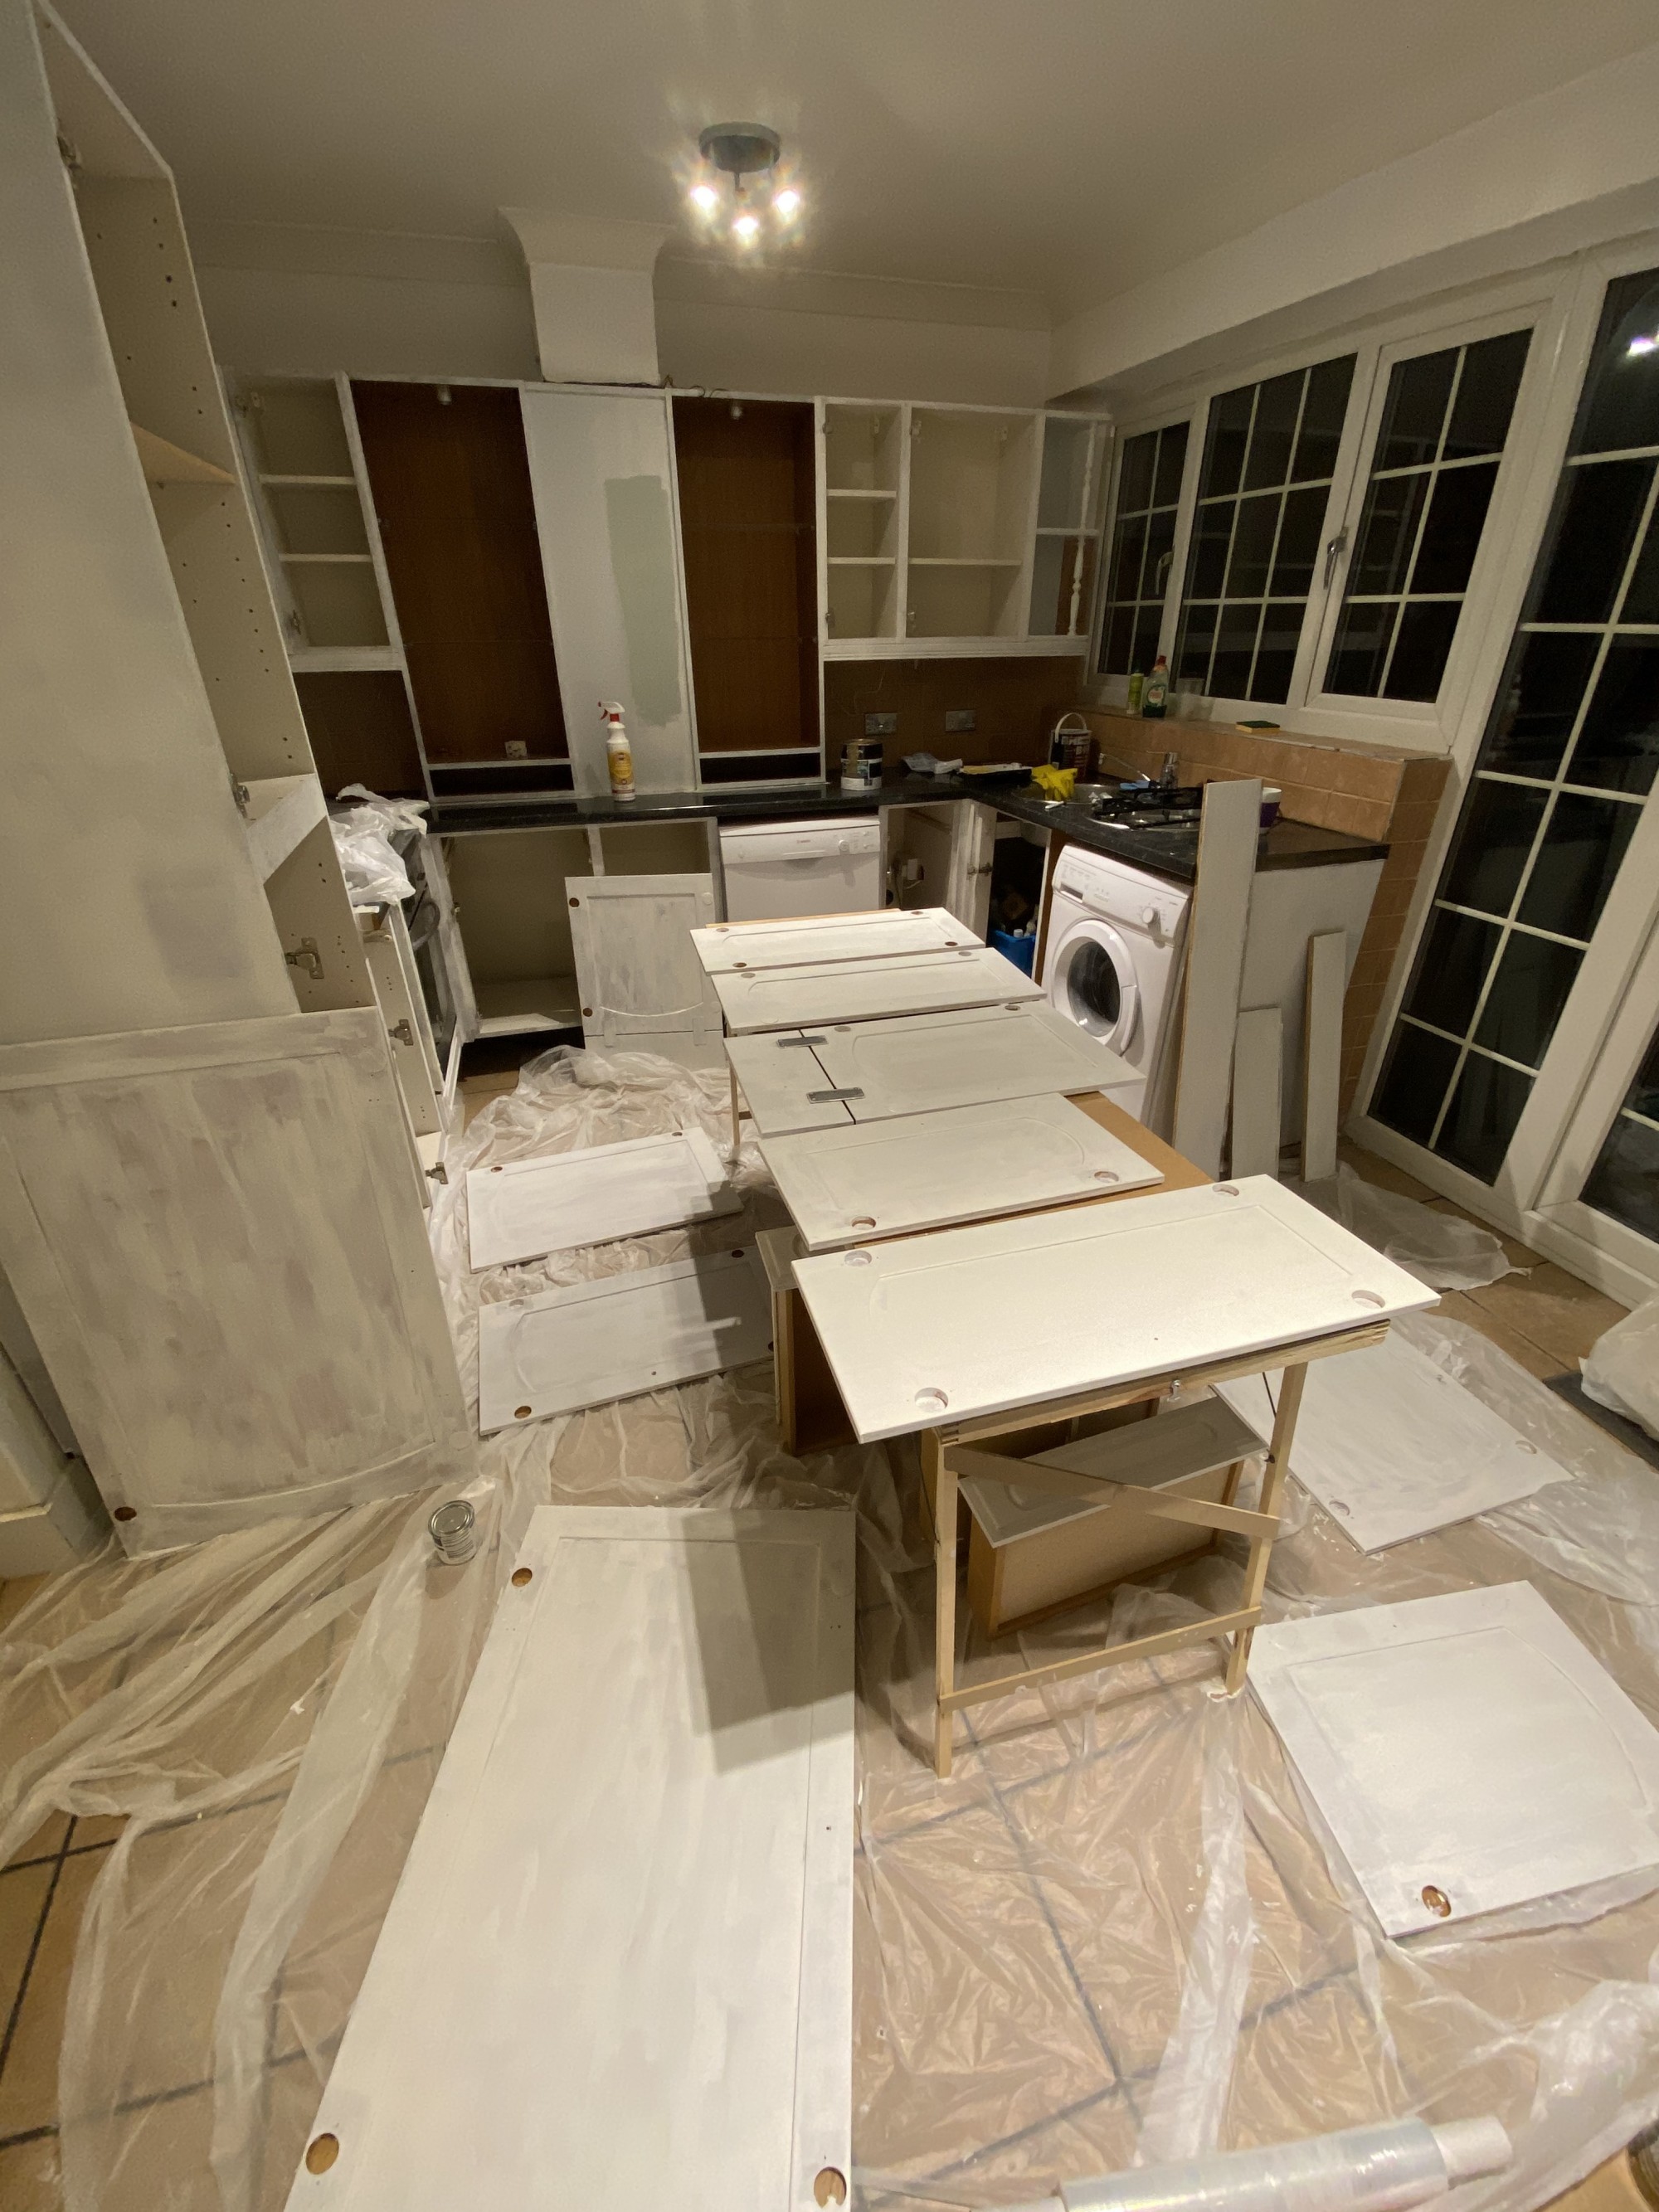
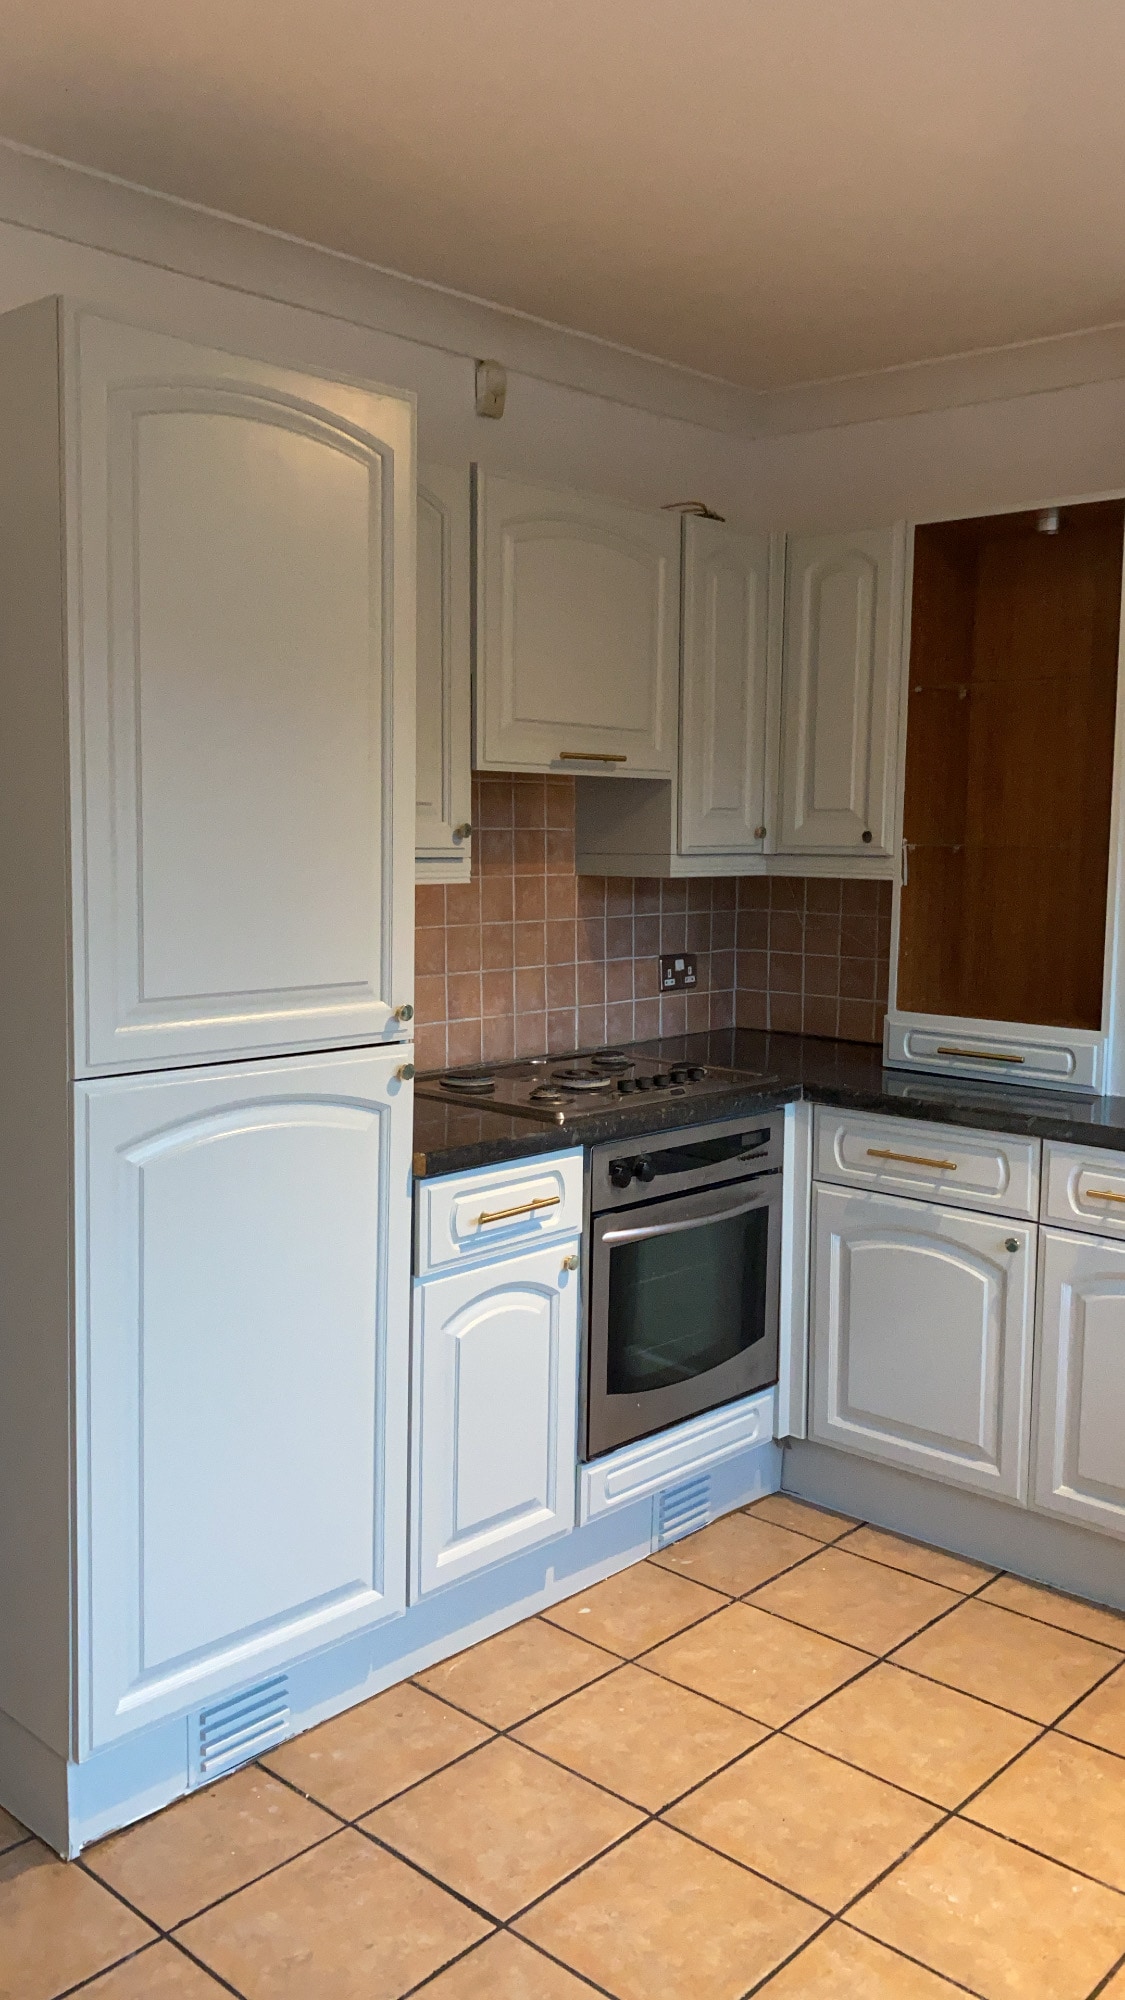
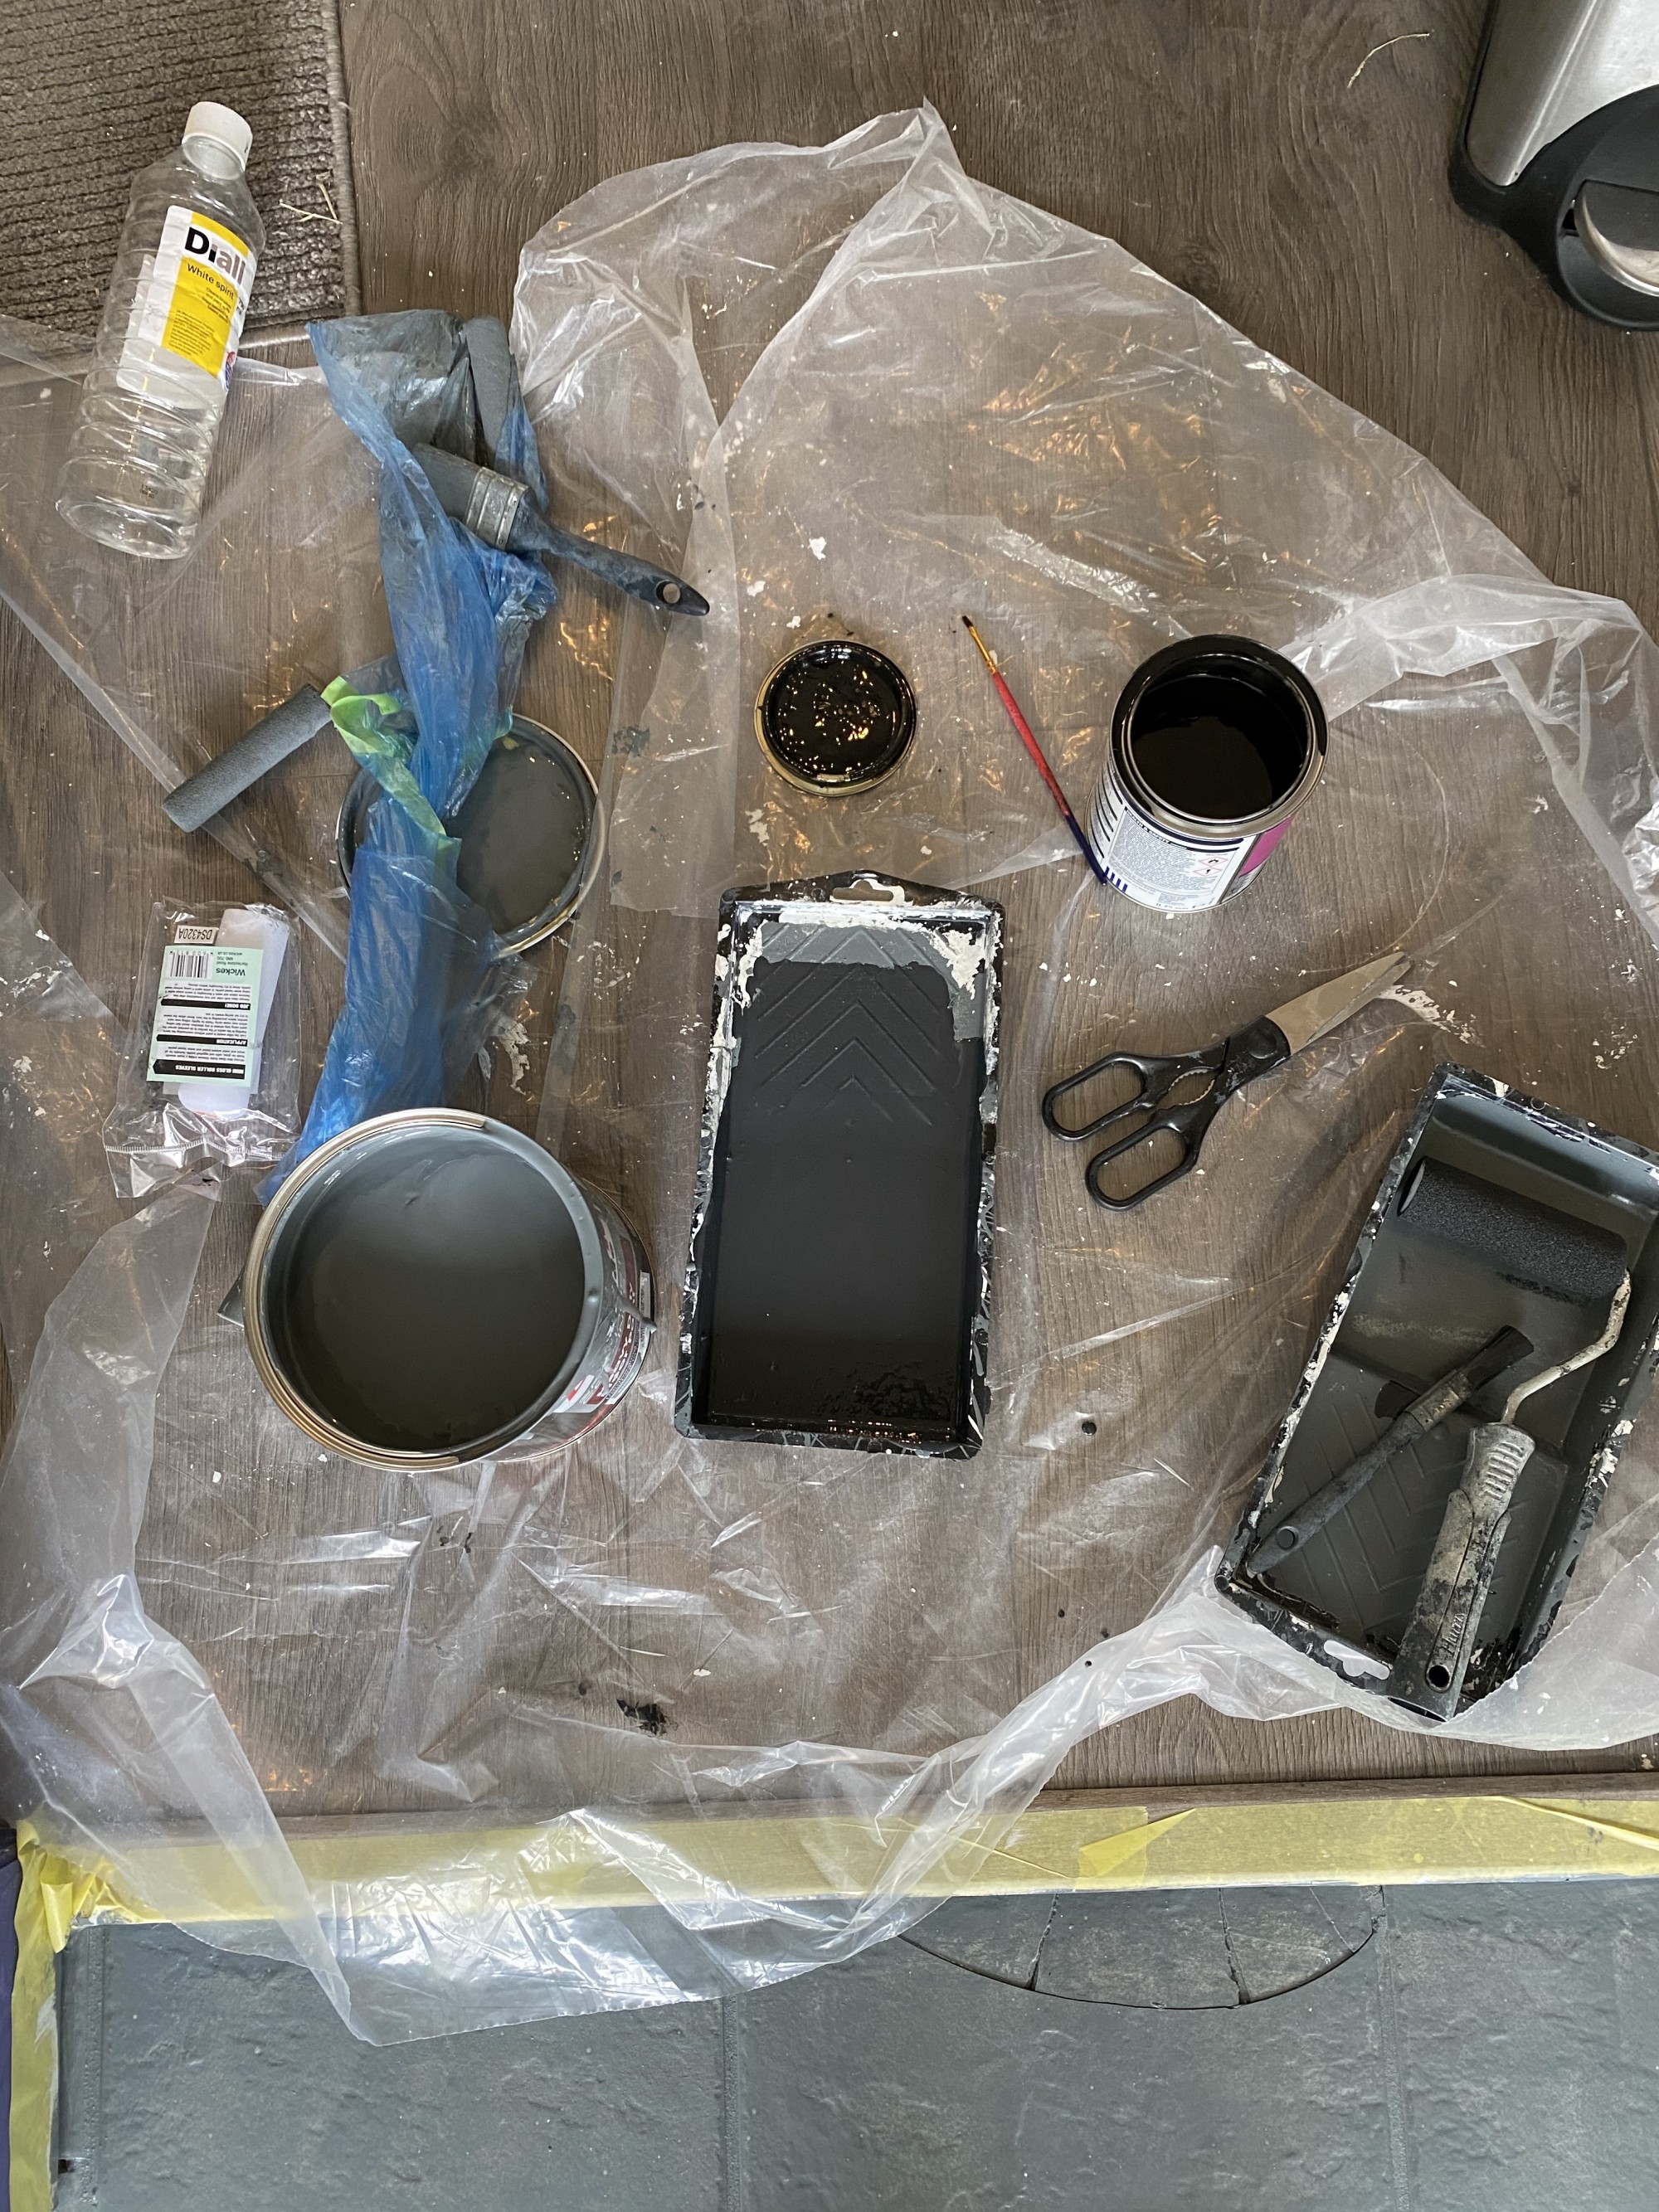
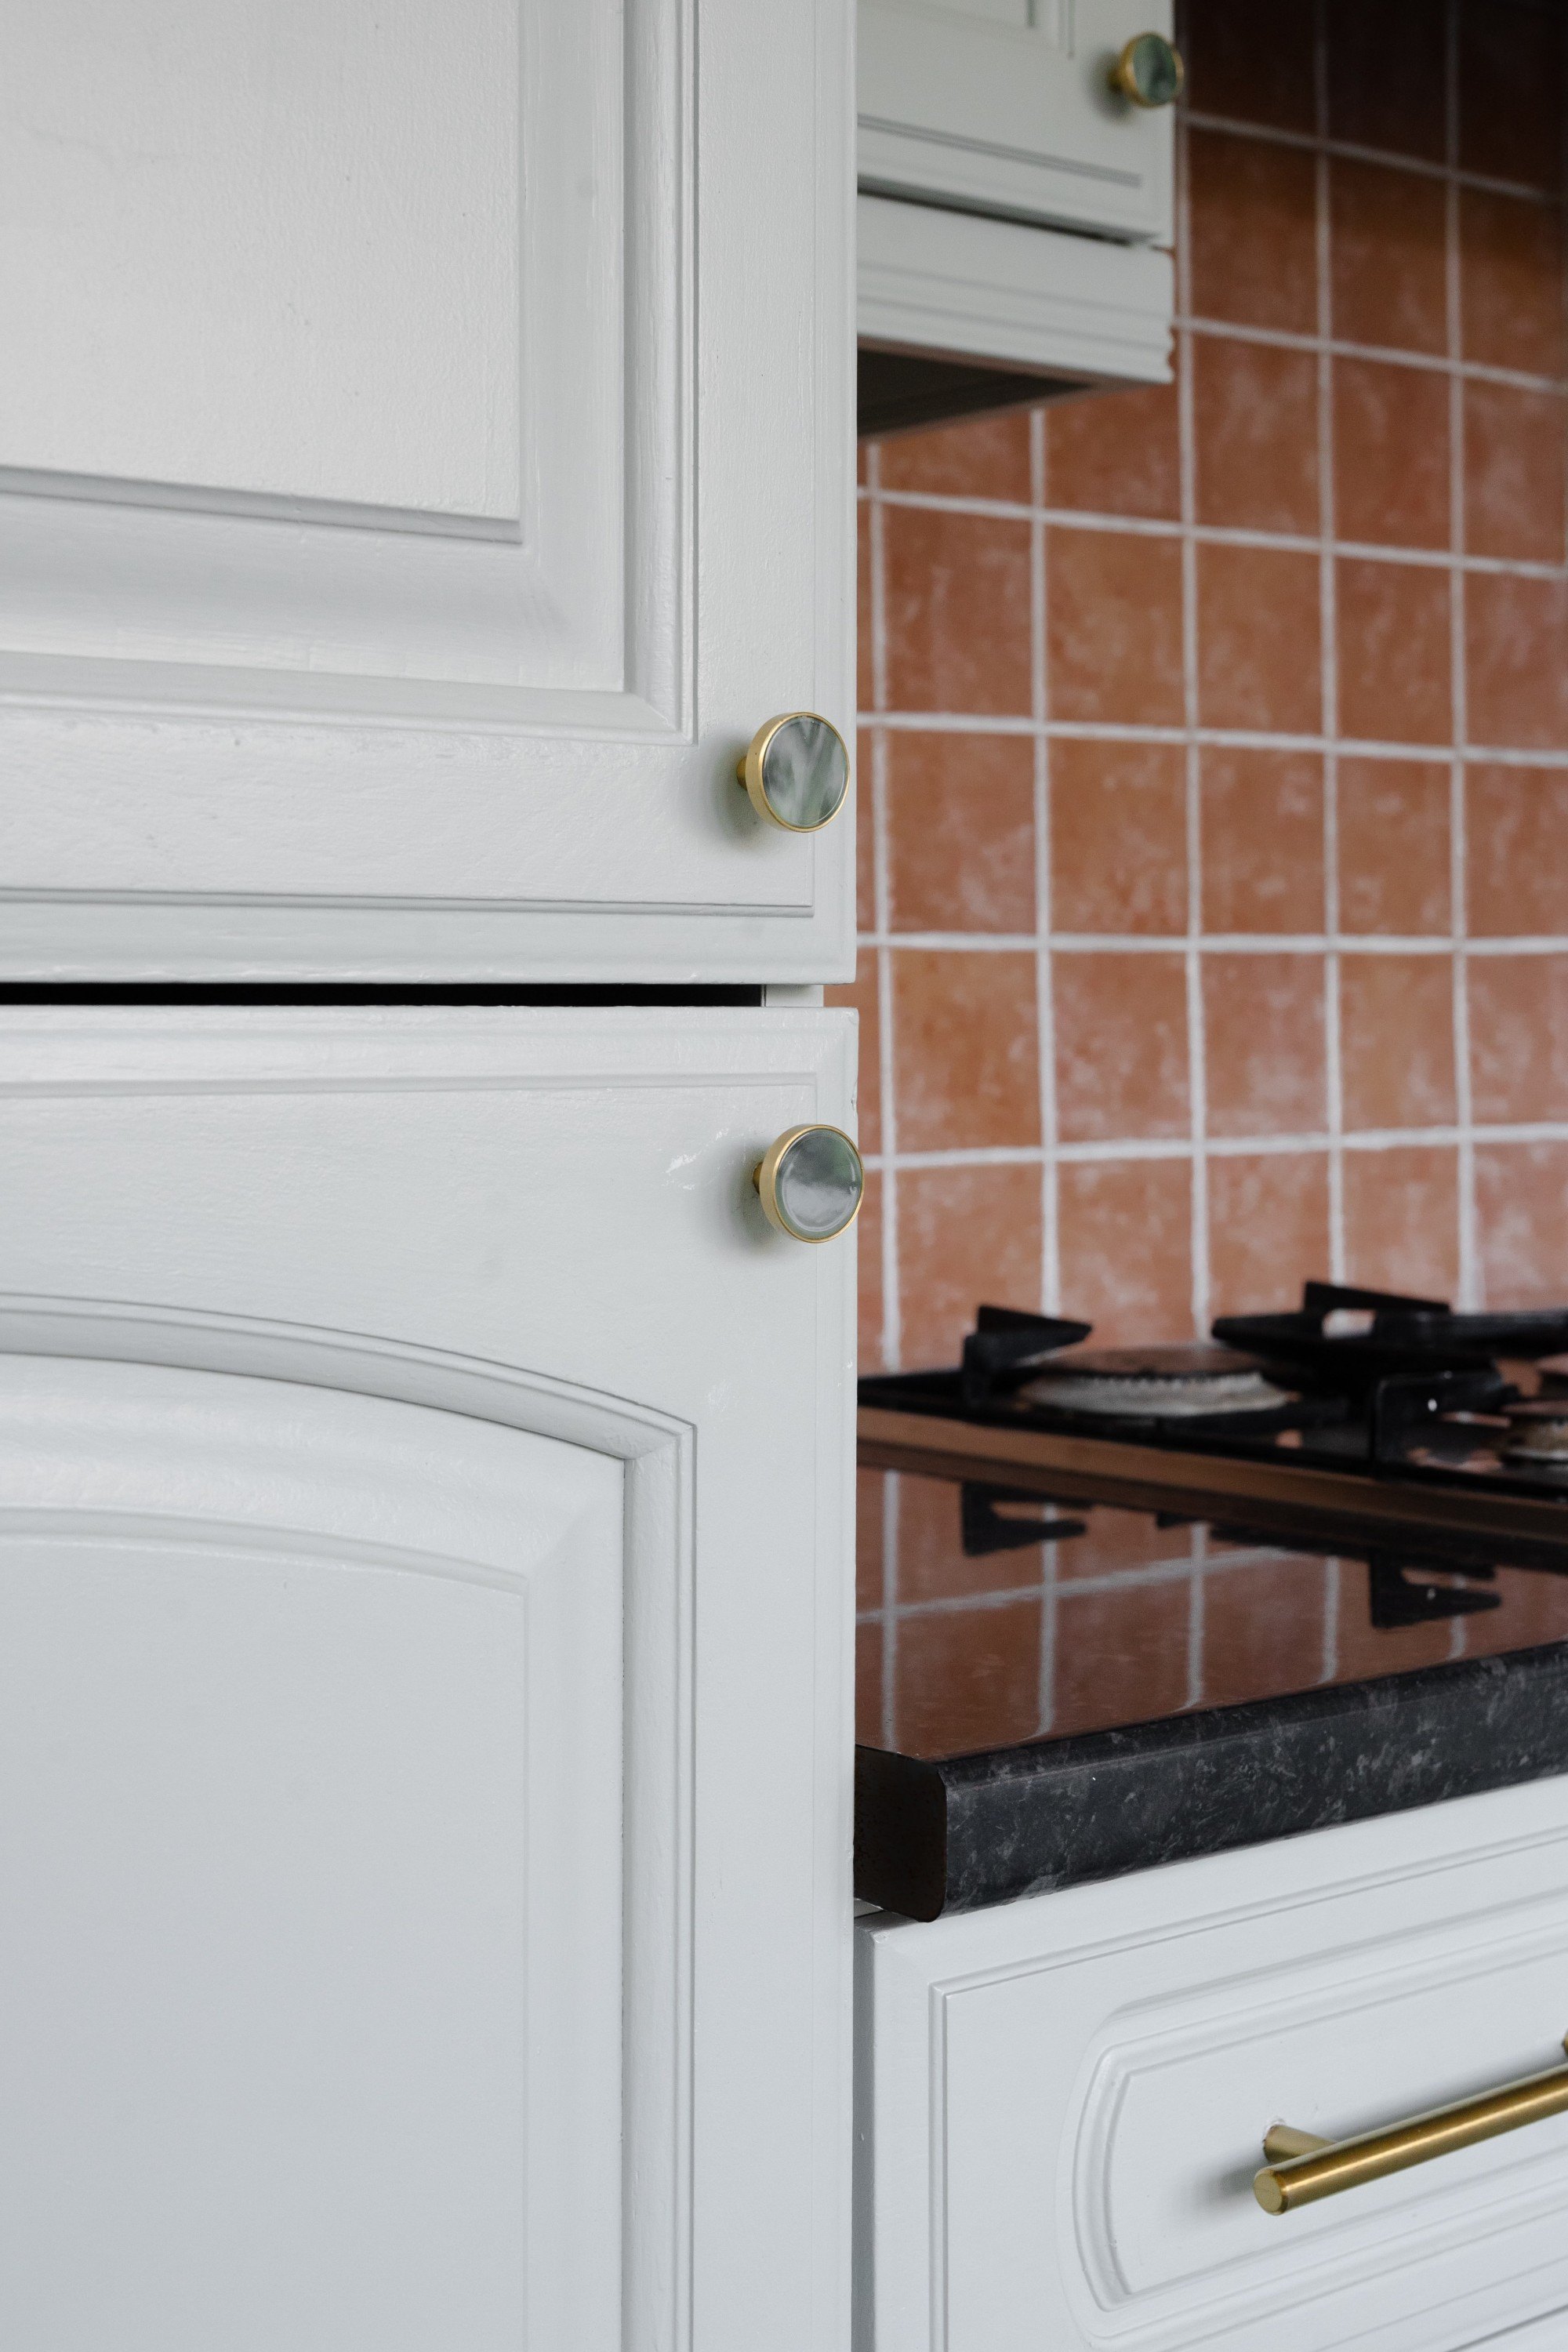
The original kitchen was made of wooden cabinet doors and brown veneer carcasses with a cornice at the top of the cabinets. It also had ornamental brass handles from the 90s (or older?), old-fashioned glass doors, brownish grout on the backsplash, and yellow floor tiles. We invested a whole lot of time to turn it into a modern and friendly kitchen with sage green cabinets, brass handles, and a charcoal-painted tile floor using nothing but paint (and a whole lot of perseverance). The crown jewel of the new kitchen was the wallpaper by Ottoline De Vries on the inside of the cabinets that had previously been hidden behind the tinted glass door.

Before

Moodboard

Materials

Instructions

Step 1

We removed the handles, cornice, and glass doors with a screwdriver and thoroughly cleaned all the surfaces, including inside the cabinets and the backsplash tiles with a heavy-duty kitchen cleaner.

Step 2

We sanded down all the surfaces that were going to be painted, all the while wearing a protective mask and glasses. When we were finished we thoroughly cleaned off the dust. We then filled any holes or cracks with wood filler. Once the wood filler was dry, we sanded off any access to create a smooth surface. We then took off all cabinet doors in preparation for the next step.

Step 3

We taped off any areas and edges we didn’t want to be painted. We used a heavy-duty primer, small microfibre rollers, and brushes to prime all the surfaces. The primer we used was oil-based so it was important that all our tools, as well as the cabinets, were dry before beginning the priming process. Important: Always wear protective gear, especially a mask to avoid breathing in the fumes of the primer. Make sure to let the primer dry for the amount of time indicated on the packaging.

Step 4

Once the primer was dry, we painted it with Crowns Wood paint, which we had mixed at our local trade store after having tested several tints beforehand. We gave all surfaces two coats of paint in total.

Step 5

We reattached the cabinet doors and then measured where the new handles and pulls should go. We then used heavy-duty screws to attach the handles and pulls to the doors.

Step 6

We also painted the grout using a white grout paint pen.

Step 7

To install the wallpaper I measured the dimensions of the five insides of the two identical cabinets (left, right, top, bottom, and back) and cut the wallpaper into pieces with the corresponding dimensions. I then mixed the wallpaper glue powder with water as per the instructions on the packaging and covered the back of the paper with glue. I applied the wallpaper to the cabinet surfaces. While the glue is still wet, it is possible to gently adjust the position. Using a wallpaper seam roller, I flattened the paper and removed any bubbles. I used an Exacto knife to remove access paper at the edges.

Step 8

Next, we cleaned the floors with the same heavy-duty cleaner and a scrub brush until it was as clean as we could get it. We then taped off the edges and everything we didn’t want to be painted. We skipped the next step, but if I were to do it again, I would also tape the grout lines using extra thin painter’s tape. We then primed the tiles using the same primer we used on the cabinets.

Step 9

We mixed our own paint using Leyland’s Trade Heavy Duty floor paint with Wickes Brick & Tile exterior paint in matt black to achieve the shade I was going for.

Step 10

We applied two coats in total. Because the Brick and Tile Exterior paint is not intended for floors and is quite matt, the surfaces scratch quite easily. Unfortunately, I had run out of time at this point, but this could potentially be fixed by applying a protective sealant. Alternatively, you may want to try another paint suitable for floors. Next time, I would probably try out another paint such as (link: https://leylandsdm.co.uk/johnstones-garage-floor-paint-750ml-dark-grey.html text: Johnstones Garage Floor Paint), which comes in white, black, and dark grey.

Step 11 (Optional)

Let your husband play in photoshop to remove the appliance from your final images. :D

After

If you get stuck trying some of these steps on your own kitchen, feel free to message me via Instagram — @atelierakuko — I'm more than happy to help!

Share On

Continue Reading